Pages

Monday, September 30, 2013

Framed Quilt Top: Week 10 of Simply Retro Quilt Along

Well, the Simply Retro quilt along over at Jana's blog slowed down a bit over the last couple of weeks, which was nice.  I thought that with the extra time, I would actually be able to totally finish this week's project....however I was wrong.  I had every intention of doing so, but decided to work on other projects in between.  I guess when you have more time to finish something, that also means you have more time to procrastinate!  I at least got the quilt top done and I really like how it turned out.


The pattern is "Framed" from Camille Roskelley's Simply Retro.  It was one of my favorites from the beginning and I feel that I like it even more with Sweetwater's new Road 15 Layer Cake. 


I used all of the darker prints in the layer cake and left the prints with a cream background out, since the pattern only called for 26 of the 40 layer cake squares I was able to do that.  Perhaps I can make a cute low volume project out of my left over squares!  Another bonus was that there was a 2.5" square left from each of the 26 - 10" squares, so I have a little stack of mini charms as well that I could add to my collection or make another project with.  I am really excited about my idea for the quilting on this one, so I hope that I can get to it soon.  I want to go along with the "road" theme and incorporate one of my favorite bands of all time.  Is that a good enough hint for you?


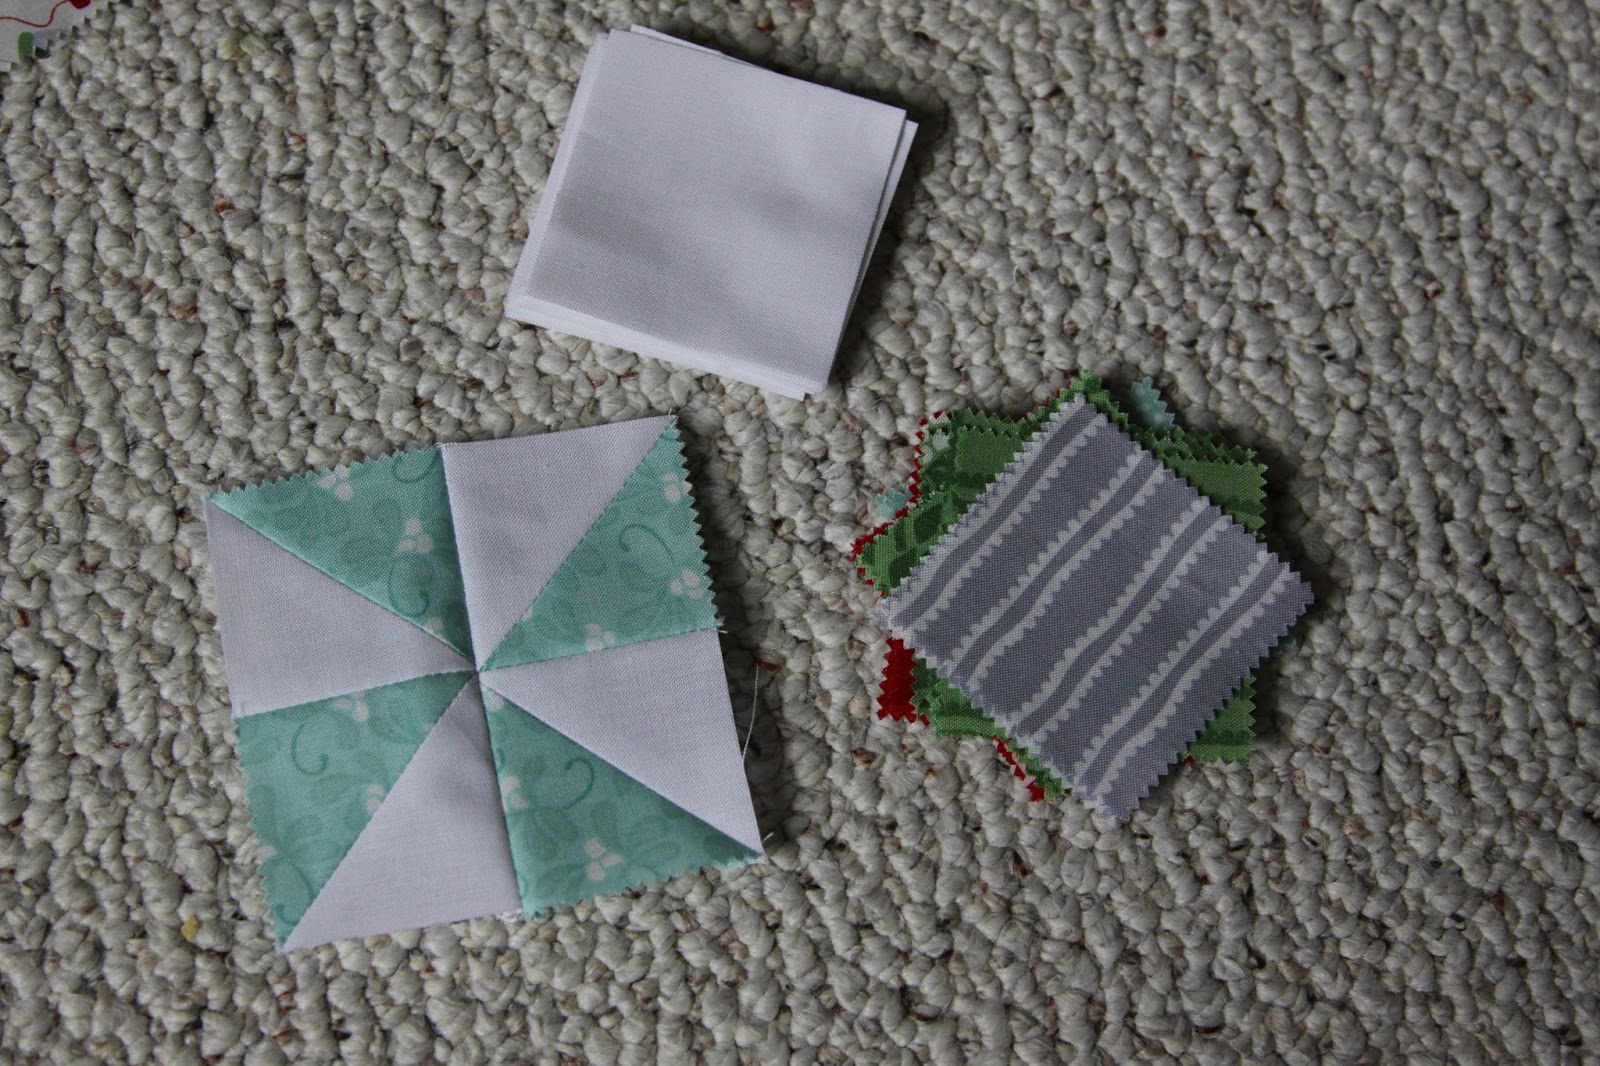
This coming up week is the last week of the quilt along, which makes me a little sad.  I guess I should look on the bright side though....I can actually quilt some of these tops now!  The last project is "Fresh," which uses all half square triangles.  The pattern calls for two layer cakes (or 64 - 10" square) and I don't have two layer cakes that I can use.  Since, the layer cake squares are cut into 4 - 5" squares anyway, I am going to use a dessert roll (5" by WOF strips) and supplement with my trusty natural linen to get enough for the quilt.  I am interested to see how it will turn out.  Well, until next time...have fun creating!

Friday, September 27, 2013

First Finish It Up Friday: Crewcuts Knock Off

It always feels great to finish up a project, especially when you like to begin many, yet finish few.  Back around April I went into a J.Crew store, which I actually had not done for a long time....having kids does that to you I suppose.  Anyway, I saw a Crewcuts top for girls that I liked a lot, however I did not like the price tag.  And of course, I immediately thought, what I am sure many of you do as well....I can make that!  Usually I think better of it and realize, hold on Kristin, you already have a hundred projects that you want to do, just buy the darn thing and get it over with!  However, this time I decided to go for it, especially since it seemed fairly straight forward.  Okay enough talk, the top that I liked is pictured below.
 

I do want to mention one more time that I decided to make it back in April, but just finished it this week!  Ridiculous, I know.  I got all of the supplies to make it and even cut the majority of it out back in June!   All of the supplies I picked up at an awesome fabric shop in Nashville, TN called Textile Fabrics.  If you are ever in the area it is definitely worth the time and they usually have some really neat finds in the sale section.  Anyway, at least the top is finished.  I also got a bit lazy and did not want to make a closure on the back of the neckline.  That is why I did not gather the neckline, which I am regretting a bit now....but I had to make the opening large enough to fit over her head.  I will most likely go back and fix it but who knows.  I just used store bought woven bias trim to add a little bit of stability to the neckline so that it would not stretch too much.  After Goobie wore it all day, playing and tugging at it....it actually held up very well.  Now, let's get to the pictures, shall we?


As you can see, I also used some Anna Marie Horner Renaissance Ribbon to create the casing for the elastic. I think I really like how that part turned out, and I will probably be doing it again in the future.  Perhaps, with some of the awesome Tula Pink Renaissance Ribbon.


Now, I will subject you to several pictures of "Goobie" wearing her new princess shirt...as she likes to call it.  It actually looks a lot cuter on her than I thought when I first finished the top.  Here she is...


Here is a little close up of the pom pom trim along the sides.  I basically used the pom pom to cover the raw edge by sewing the pom pom trim to the front of the shirt trim then folding it over toward the inside and then edge stitching...it worked out pretty well and held up in the wash...score.

Just one more...


I feel that the top would definitely benefit from gathering the front neckline and then adding a small slit with a button closure at the middle of the back neckline.  Whether it happens or not, at least I finished it and it is wearable!

Until next time, have fun creating! 

This post is linked up with crazy mom quilts' Finish It Up Friday.

Wednesday, September 25, 2013

A Countdown to Christmas Quilt Along and WIP Wednesday Mash-Up

Well, it is Wednesday again, where does the time go?  Last week I talked about my Christmas stockings that I am STILL working on from last year which I will briefly bring up again, and then I am going to continue on the Christmas path with an advent pocket quilt project from a quilt along over at Better Off Thread.  Before I delve into the Countdown to Christmas Quilt Along, I wanted to show one more "beginning of a Christmas stocking" that I believe I mentioned last week but forgot to take a picture.  It is an English Paper Pieced hexagon design using a couple of the Cherry Christmas by Aneela Hoey prints again and a solid white.  I wanted to use larger hexagons and I only had tiny ones, so I created the size I wanted in Microsoft Word and printed them on card stock and they are working pretty well.  Below is a photo of the hexagons I have managed to finish and sew together along with the one and ONLY finished stocking!


One more quick note, I also mentioned last week a Christmas quilt idea that I started last year, but failed to take very far.  The first Craftsy class I ever signed up for was Inspired Modern Quilts by Elizabeth Hartman.  First off, I love Craftsy, what a brilliant concept!  And second, I have been inspired by Elizabeth Hartman and her blog Oh, Fransson since the very beginning of my quilting adventures and I have yet to come across something she does that I do not love and this class was one of those things.  The quilt design that I wanted to use for my Christmas quilt was the Clementine Applique quilt pattern from the class.  Now, I warn you I didn't get very far, however I have attached an image below for your viewing pleasure.  It at least gives you an idea of what might come...


Okay, now on to the quilt along.  I cannot remember now how I can across this quilt along, but it seemed awesome, so even though I missed the first week, I am joining along anyway.  Turns out the advent calendar pattern used for the quilt along is by Elizabeth Hartman....what a coincidence!  How could I resist such a temptation, plus it will give me one more project to add on to all of the others that I need to finish!  So it is only week two of the quilt along, but all I had to do was but out the fabric....easy enough....so that is what I did and I have my squares for the 24 pocket laid out for you below.


So those are a couple of my "works in progress" right now.  I am pretty excited about these Christmas projects because they are adding up and I am thinking that with the pillow, wall hanging, stockings, quilt, advent calendar quilt, and MAYBE a tree skirts (crazy, right?) we might be pretty well decorated this year.  I love Christmas time!

Linked up with WIP Wednesday at FreshlyPieced.com and the Countdown to Christmas Quilt Along at betteroffthread.com


Sunday, September 22, 2013

Acacia Giveaway Winner!!!

This will be a quick post and I will not delay in announcing the winner of the Acacia fabric giveaway...drum roll....and the winner is Rachel, entry number three!  (Rachel, please send me an email with your info so I can get your fabric out to you ASAP, thanks!) Rachel chose Butterfly Wings in Blueberry as one of her favorite prints from the collection, but we all know how hard it is to chose just one, right?

You ladies all left great comments, thank you for stopping by and checking out the blog.  There weren't many entries, but hey, that gave each of you a pretty decent chance of winning.  That was definitely a plus for you guys!  To chose the winner I used a true random number generator from random.org as you can see below.
Thanks again for your participation and stay tuned this week, because I am going to try and get a couple of new posts in with a couple of projects I am working on and a couple that I have actually finished!

Until next time, have fun creating!

Wednesday, September 18, 2013

Christmas is coming again...so perhaps I should finish those stockings!

Last year I had every intention of making quilted stocking for our family, which would be six with the husband and all of the kids!  I started fairly early, and even had plans to also make a quilt, "plans" being the key word here.  I have lots of "plans/ideas" but barely any time to complete them.  Anyway, long story short, I finished one stocking, but even then I thought it was too short so I took it apart, and then there were none!  So....this year my new goal is to finish the five remaining stockings before Christmas.  It might sound pretty easy and straight forward, but those of you that like to continually bite off more than you can chew....like I tend to ALWAYS end up doing...then you can see that this goal might not be obtained once again.  Okay, okay enough talk, here is stocking number one.
 As you can see this stocking has basic block/postage stamp piecing using Aneela Hoey's Cherry Christmas and some solid white fabric.  For the quilting, I just stitched a 1/4 inch from the pieced seams, creating a grid.  Then for the cuff I used some scrap fine wale corduroy since the greens matched so well.  I cut the shape for the stocking myself and it looked too short for how narrow it was, but in this picture I had added a four inch strip of white fabric under the cuff to extend the stocking.  It definitely looks better now. Now for stocking number two.
This one is still a work in progress, obviously, but I using half square triangles to create a zig zag pattern.  The quilting just follows the pieced lines again, mimicking the zig zag.  I used scrap fabric for two of the prints and then the red is Cherry Christmas again.  This stocking front is without the four inch extender, so you can see the difference the extra length made in the first stocking.
For the next two stockings, I wanted to use a new mini charm pack I got this year from Moda called In From the Cold by Kate Spain.  It has a similar color scheme to Cherry Christmas, so I think it is going to look well together.  Above is just a potential layout for another basic block pattern stocking, but this time I was thinking of using some linen, to tie in with the Dwell wall hanging I made last month for the Simply Retro quilt along at Jana's blog.  I think I am going to have to add quite a few more blocks in to get it the right size though, probably some more white.  I am trying to use only one mini charm for the two stocking, however I might have to break down and use one more.
Then using some of the more tonal prints from the In From the Cold mini charm pack, I am going to make a pinwheel pattern stocking.  I think this one is going to turn out really great.

I also started an English Paper Pieced hexagon stocking last year, but I forgot to take a picture of that one.  Perhaps the next time I will have a photo of that one completed.  That leaves me with five planned stockings, what pattern should I use for my sixth stocking?  If you have any thought I would love to hear them!

I am linking up with Freshly Pieced this week for WIP Wednesday, which I love the idea since I have so many works in progress.

Until next time, have fun creating!


Saturday, September 14, 2013

Acacia Collection by Tula Pink........SUPER Awesome and a GIVEAWAY!

Hi there, hope all of you are having a great weekend so far!  I just wanted to take a moment to comment on Tula Pink's new fabric collection, Acacia.  It is nothing short of wonderful.  I have to say that I am always pretty enamored with her collections, particularly her nod to nature and impeccable attention to detail.  She is a talented artist for sure and it is awesome that you can wear the art (hope we will be seeing some voile from this collection) as well as basically decorate any aspect of your life with it.  Okay, I think I have rambled enough, now for the pictures.  Many of you have most likely seen the prints already, but I am sure you don't mind seeing some of them again.  One of my favorites, and I am pretty sure I am not the only one here, is the raccoon print.....


Great, right?  We have two of the raccoon prints in our Etsy shop right now, but I will have to patiently wait for the third, in sky.....patiently, will be the difficult part.  Now, there are three colorways within the collection.  I am not sure if they have specific names (perhaps one of you could enlighten me), which might sound weird that I don't know them, but it was harder to find on the "interwebs" than I would have thought.  We have all of the prints in the pink color way, and they are awesome.  The Pineapple slices in this color way is particularly nice because the olive green background with the pinks in the rings are a beautiful combination.


I thought that I would like the purple color way the best, but I think my favorite might now be the blue!  


I, unfortunately, am missing one of the Humming bird prints from the purple color way because the company accidentally sent me two in the midnight color and none of the dusk!  Hopefully it will come soon...they said it would, but I must not be high up on their priority list.  As for the blue color way, the Raccoon in sky and Diamonds in teal are back-ordered until next month.  Again, I must practice my patience.


One print that I did not think much of before I saw it in person was the Butterflies print, which is a bit unusual because I love insects.  Butterflies in teal has such a beautiful color combination and the butterflies are so detailed (as usual).....it is wonderful.  I am thinking perhaps a dress for my two year old.


So, what is your favorite color way and/or print?  What projects are you making or planning with Tula's new Acacia line?  I would love to hear about it.  In fact, I want to hear about it so much that I would like to send one lucky person a yard of their favorite print from the Acacia collection, minus the three prints that I mentioned I do not have in my possession yet of course.  You heard it correctly, one yard....all you have to do is head over to our Facebook page and "like" us, then post a comment below telling me your favorite Acacia print and what you are going to be making or are currently making with the Acacia collection.

The giveaway will be open until next Sunday, 22 September at 11:59pm EST.  Only one submission per person please and don't forget to leave an email for me to contact you.  If there is no email address, I will have to go to the next commenter chosen who provided an email.  Thanks and I cannot wait to hear from you!

GIVEAWAY is now CLOSED!!!

Sunday, September 8, 2013

Sweet Life Quilt: Week Nine of the Simply Retro Quilt Along


Well, I was not able to finish my quilt top for what I thought was this week’s quilt along submission, but it turns out the link was opened up again.  Anyway, I finished all but the six inch border that goes around the quilt top so I am no longer stuck with not so great photos.  This week was pretty crazy though.  The kids went back to school, soccer started…all sorts of things.  I feel the phrase that sums up this week best, as far as getting anything accomplished, is Murphy’s Law….anything that can go wrong will!  Did I get that right?!?!  Don’t get me wrong, the kids were great this week except for my two year old’s continuing “fear” of going poopie on the potty and proceeding to roll around on the carpet with poop in her panties….lovely.  That said, as far as sewing productivity was concerned, I was pretty much halted for a majority of the week.
For my “Sweet Life” quilt I really wanted to go low volume.  I love the idea of low volume and it seems to be a bit of a trend lately….or at least I think it is.  Anyway, I recently fell in love with the new Koi Collection by Rashida Coleman-Hale for Cloud 9.  One of my favorite prints from the collection is Scalloped Edge in ivory, and I wanted to use it in a quilt where it could be the main focus and then highlight the shell pink, water blue, and plum.  So when I saw the Sweet Life pattern I thought it would be perfect for these fabrics.  Instead of using various fat quarter I decided to use the same fabric for each of the star’s centers, in this case Scalloped Edge. Then the star points I used Smile and Wave in each of the three colors I mentioned earlier, for this particular quilt three stars for each color.  I only made nine stars so the quilt will be more of a throw or generous crib size, since I have recently had some baby quilt requests.  I thought this fabric combination and quilt design would be great for a baby girl!  Lastly, I left out the corner stones and I am making the entire background the same solid color, Bella Solid in Porcelain.  I have included my fabric amounts below and some photos.  Enjoy!


<ahref="http://www.bloglovin.com/blog/10631875/?claim=fss3yckcdr7">Follow my blog with Bloglovin</a>


Sunday, September 1, 2013

Adorn Quilt: Week Eight of Simply Retro Quilt Along

New week, new project.  I have been wanting to make a small quilt to put on the wall of my sewing room for a while, but was not sure exactly what I wanted to do.  I knew that I wanted to use the purple colorway of Tula Pink's Birds and the Bees fabric as well as hexagons....you know like a honeycomb.  I had the fabric but could not decide on a specific design.  When this week's quilt along project came up I decided to use the center of the star, which made a hexagon, as the focal point and use two different neutral fabrics around the center to create more "background" hexagons.  The result looks very different and I am still not sure how I feel about, since it makes me think of a radioactive symbol! It actually looked a little better before I trimmed the sides, since you could see the entire hexagon.  Oh well, can't undo that!


Anyway, since it did not turn out how I wanted, I decided to make a star, using my "Christmas fabric" scraps from a tree skirt I am (still) making for my sister (sorry Stef) and the Dwell quilt from last week.


Now, as for my "radioactive" wall hanging (pictures below), I am going to keep working on it and hopefully get it where I want it to be....eventually.  I actually already took it apart and put it back together once, because I assembled the triangles in the wrong directions.  Even when I was putting the strips together I wasn't thinking so I have a couple of the same fabrics touching...which I was trying to avoid.  Again, probably isn't a great idea to quilt in the wee hours of the morning, but hey at least I am getting some things done!


Hope you enjoyed the photos and stay tuned to see what comes of the "radioactive" quilt.  Until next time, have fun creating!