WIP Wednesday: Cloud 9 Tote with Zipper Pouch
Today I was working on finishing up some totes with matching zipper pouches, for a party that I was supposed to attend tomorrow night. Now I don't get out much so I was pretty excited, but then the party was cancelled this afternoon...bummer! There was definitely a good reason for the cancellation, so I am not complaining too much. But now at least I will have more time to finish up the totes and pouches. I was not worried about finishing the totes by tomorrow evening, but I was a little worries about the pouches since I realized today that I didn't have the correct color zippers and never got a chance to go out and get them today. I guess tomorrow I will have to go to the fabric shop to get some zippers...oh darn...wink, wink!
As for the pattern that I used for the totes and pouches, I found it on Cloud 9 Fabric's blog as a free pdf download. I was a little skeptical at first about the bag since there is no interfacing or anything like that at all. The pattern just calls for quilting weight cotton fabric, and only one yard at that! Now the bag is supposed to act as a grocery bag, so it is not really meant to hold its shape, so the lack of interfacing did make sense...either way I had to try it. It turns out I really like the tote....simple but pretty!

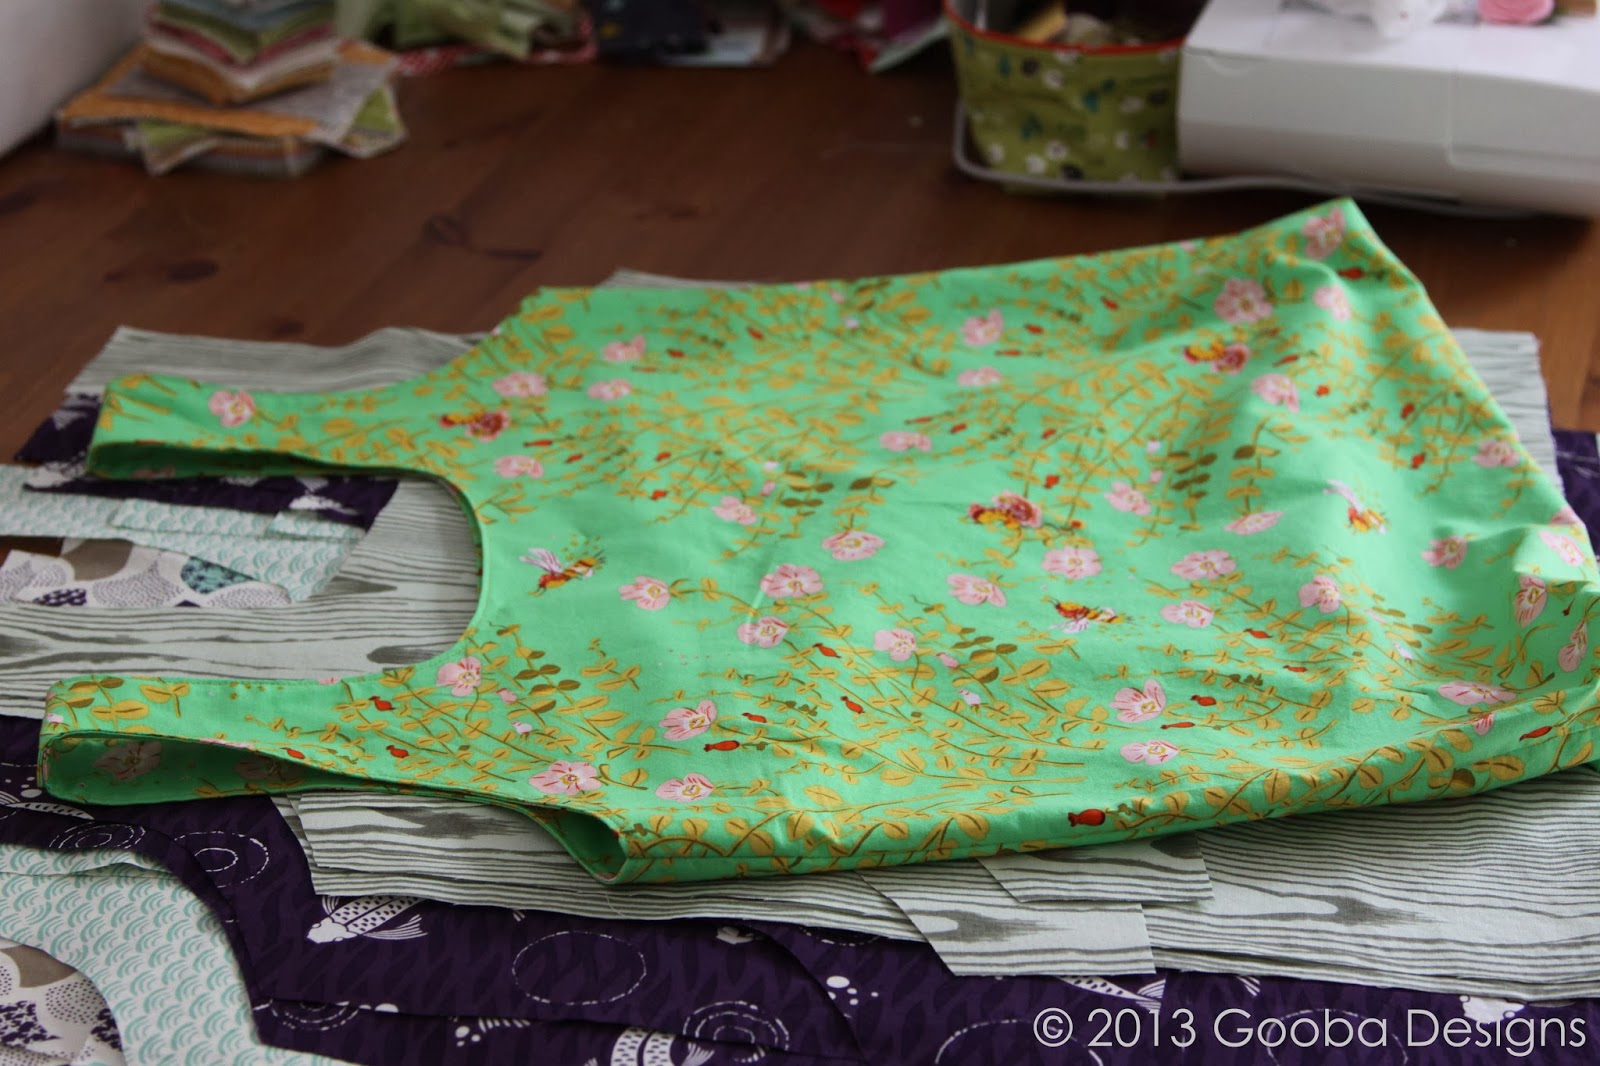
I have only made one tote so far, and none of the pouches. I have, however, cut out all of the fabric for four additional bags and I have started constructing some of them. I will most likely stay up tonight again and try and get some more finished. I used some fabric from the shop, including Nanny Bee in green from Heather Ross' Briar Rose collection (I have been waiting to use that for something), the woodgrain print in moss from Erin Michael's Lush Uptown collection, and then of course a couple of prints from Rashida Coleman-Hale's Koi collection (as you can tell from some of my recent projects, this is one of my favorites).


The bag is cleverly constructed with no exposed seams. The top handle portion of the bag has a lining piece which you sew on with right sides together and then turn right side out. You do this for both halves, then you join them at the top by overlapping the finished ends. I wasn't sure if I would like this and almost used a different method, but I didn't and I like how it turned out.
Then once you get the two halves joined at the tops of the handles, you sew the bag together around the sides and bottom using a french seam, which I always love to do.
Anyway, I won't go into too much detail since the directions in the pdf pattern on their blog are easy to follow and have diagrams....awesome! Like I mentioned before, I have not even started the pouches so I cannot attest to the construction of that yet, but I am thinking they will come together well. Until next time....
This post is linked up with WIP Wednesday at FreshlyPieced.com


The bag turned out great! I've seen that pattern before and wound up avoiding it because I thought it would be too flimsy! But I imagine it folds up nice and small to tuck away in a purse. Anyway, it looks great in that green fabric.
ReplyDelete